Tools: A non-stick skillet, a rubber spatula, a medium bowl, and a whisk.
3 large, fresh eggs
1 tablespoon of whole milk, heavy cream, or sour cream
1 tablespoon of cold, unsalted butter, cubed
Salt and freshly ground black pepper
Optional: Fresh chives, chopped
The Sacred Technique (Step-by-Step):
Step 1: The Gentle Whisk (Not a Beat-Down)
In your bowl, whisk the eggs, milk/cream, and a pinch of salt together until just combined. You should still see small, separate streaks of egg white and yolk. Do not whisk until completely uniform and frothy. Over-whipping incorporates too much air and can lead to tougher eggs.
Step 2: The Preheated Pan
Place your non-stick skillet over low to medium-low heat. Let it get warm, not screaming hot.
Add the cold butter. It should melt gently and foam slightly, but not brown. If the butter immediately sizzles and turns brown, your pan is too hot—take it off the heat and let it cool down.
Step 3: The Low & Slow Cook
Pour the egg mixture into the pan. Let it sit, undisturbed, for about 20-30 seconds until a thin layer begins to set at the bottom.
Now, using your rubber spatula, begin pushing the eggs from the outside of the pan toward the center. Do this slowly and continuously, allowing the uncooked egg to run out onto the hot pan.
Step 4: The “Pull-and-Fold”
As curds begin to form, switch from pushing to a gentle folding motion. You are not scrambling aggressively; you are folding the cooked egg over the uncooked parts, creating large, soft, creamy curds.
Remove the pan from the heat when the eggs are about 90% cooked—they should look wet and slightly runny, but not liquid. This is the most crucial step! The residual heat in the pan will finish cooking them to perfection.
*(Prime Ad Placement #2: The cooking stage is highly visual. This is a great spot for ads for a specific brand of non-stick cookware, a quality rubber spatula, or a meal kit service that provides breakfast ingredients.)*
Step 5: The Final Rest & Seasoning
Immediately transfer the eggs to a warm plate. They will continue to cook for a moment off the heat.
Now, and only now, add a final grind of black pepper and any fresh herbs like chives. Adding pepper during cooking can sometimes make it taste bitter.
Let them rest for 60 seconds before serving. This allows the proteins to relax and the residual heat to distribute evenly, resulting in the creamiest texture imaginable.
Pro-Chef Tips for Next-Level Eggs
The Gordon Ramsay Method: For ultra-creamy eggs, take the pan on and off the heat every 30 seconds during cooking to precisely control the temperature.
The Crème Fraîche Finish: For the ultimate luxury, stir in a small dollop of crème fraîche or sour cream right at the end, off the heat.
Salt Timing Debate: While we recommend a pinch of salt at the beginning to season the eggs throughout, some chefs swear by salting only at the end to prevent weeping. Try both and see which you prefer!
Serving Your Perfect Scrambled Eggs
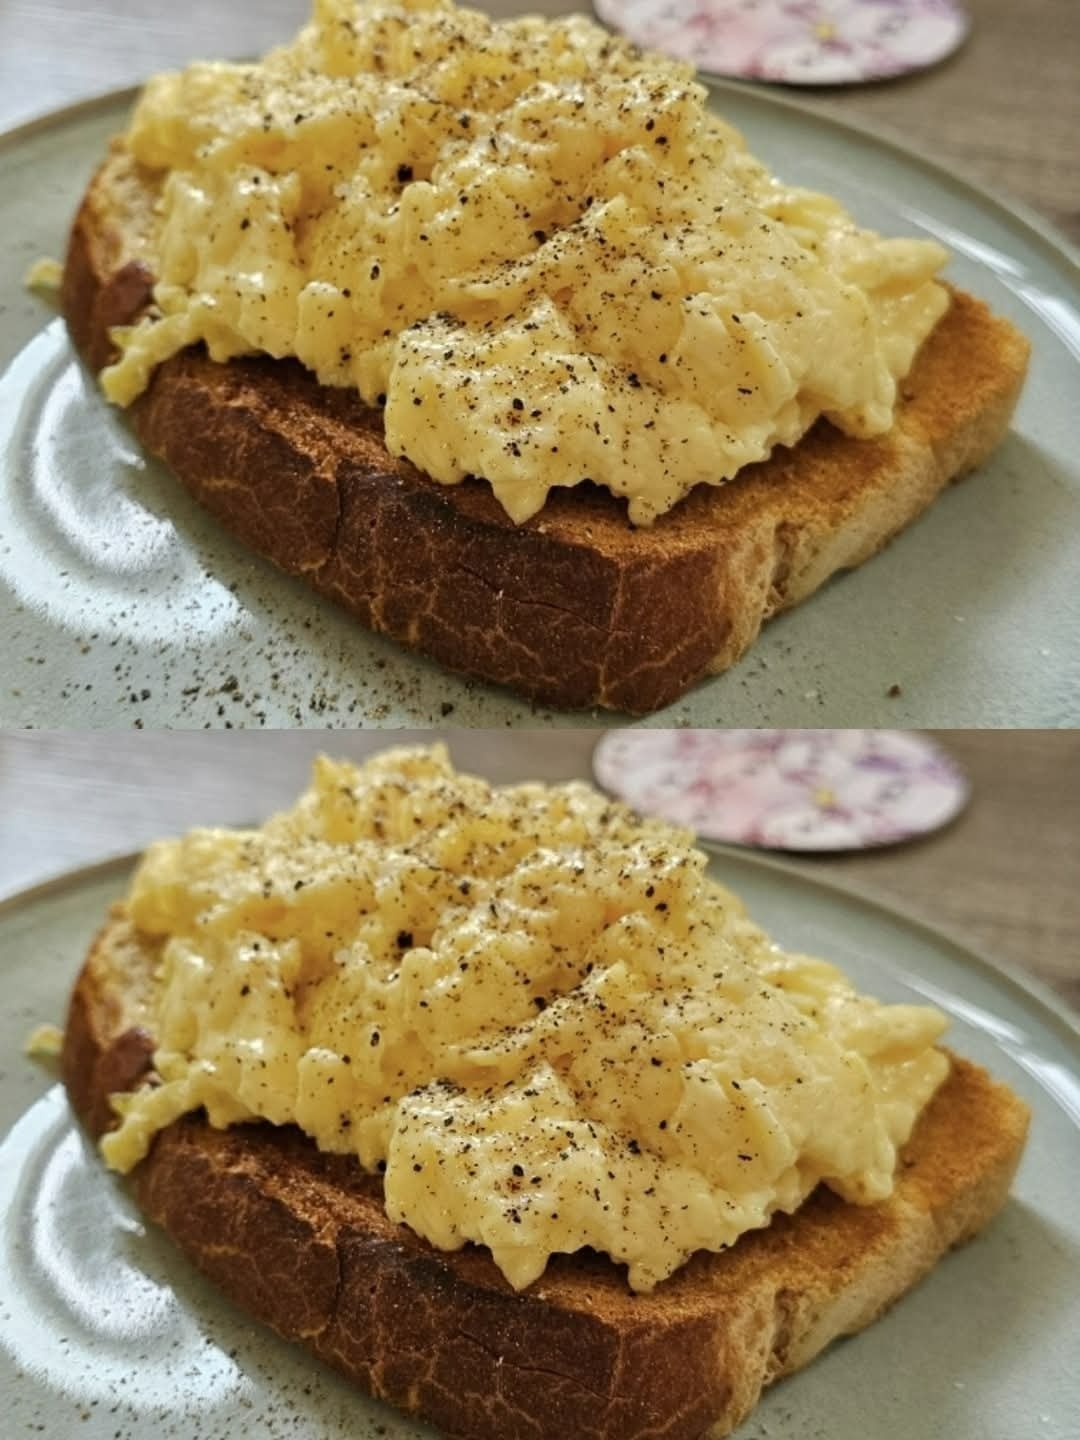
These eggs are a star on their own, served on warm, buttered toast. They also pair beautifully with:
Smoked salmon and a squeeze of lemon.
Sautéed mushrooms and spinach.
Crispy bacon or breakfast sausage.
A simple side of fresh avocado.
(Strong, Empowering Conclusion & Call to Action)
Mastering perfect scrambled eggs is a fundamental kitchen skill that pays dividends every single morning. It’s a lesson in patience, gentle heat, and trusting the process. With this technique, you have the power to turn a few simple ingredients into a breakfast worthy of a five-star review.
Now we want to hear from you! What’s YOUR secret to the perfect scrambled egg? Do you add a special ingredient or have a unique technique passed down in your family? Share your tips and breakfast triumphs in the comments below!
